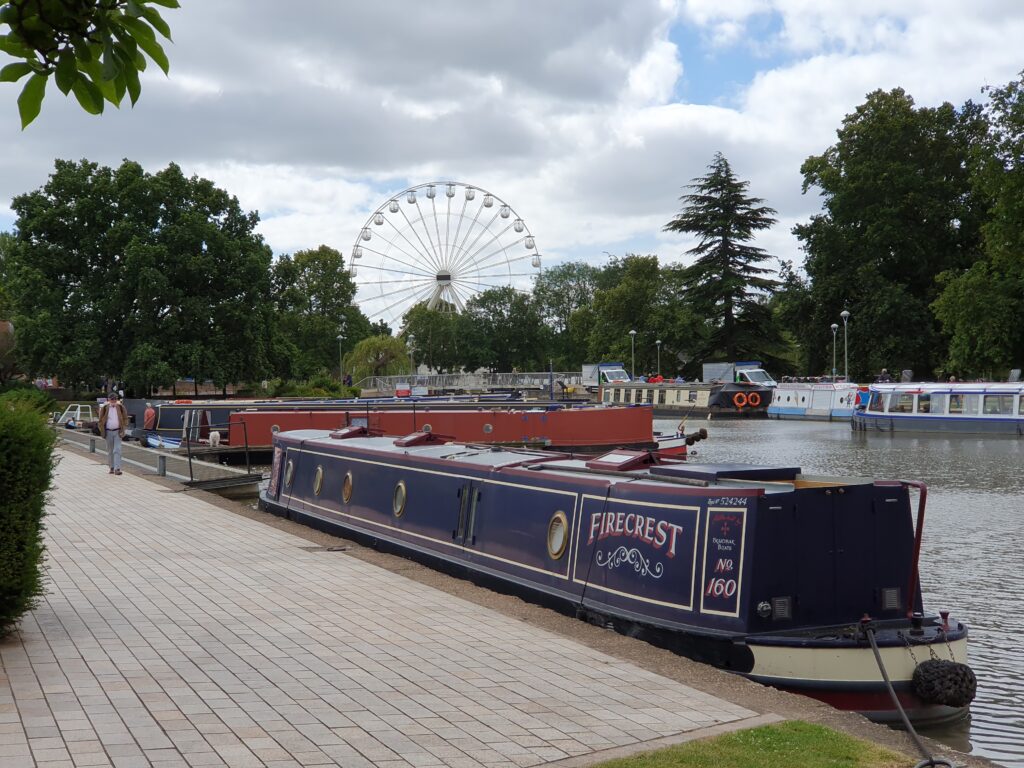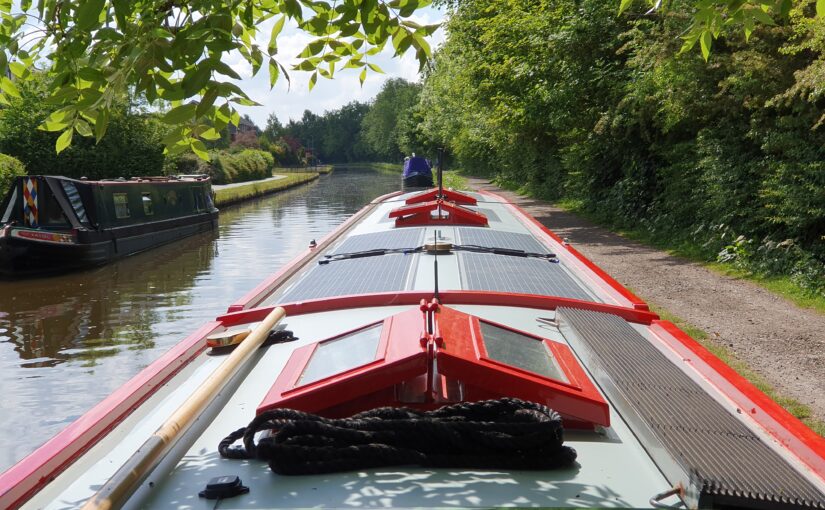
4 new solar panels

Having realised how much the boat’s solar panel array enhances our lifestyle, (eg saving hundreds of pounds on diesel not running the geni) we really wouldn’t want to be without it. The original 4 panels that we fitted in April 2019 were showing some signs of delamination, there were tiny air bubbles under the surface. Although we hadn’t noticed any reduction in efficiency (although that’s hard to quantify with 7 panels and the British weather). We decided to replace them now while the boat was repainted.
Of course technology doesn’t stand still and the identical panels were no longer available, but Photonic Universe is.

Eric put in hours of research browsing for what would fit, what would match, and most importantly which would give us the maximum power output. Photonic Universe came up trumps again. He did contact other companies, but one failed to reply to the email, and another company had done something daft like listing the size of the transport packaging rather than the panel itself. Whereas we’ve had good service from PU in the past, and they have enough choice to find something to tick all our boxes. Unfortunately, we found some panels go out of stock, and there’s no guarantee that the exact panel will reappear. So decisions were made and panels ordered back in the autumn, and had them delivered back home.  Eric unpacked them, checked for faults and consolidated their packaging for easier storage until the time arrived to fit them.

We’d already had a few false starts with mooring locations being unsuitable for DIY or it being too wet or too hot. But goldilocks eventually found the golden spot at Whitebridge Lane moorings in Stone. We set to washing the roof of the boat, -again.
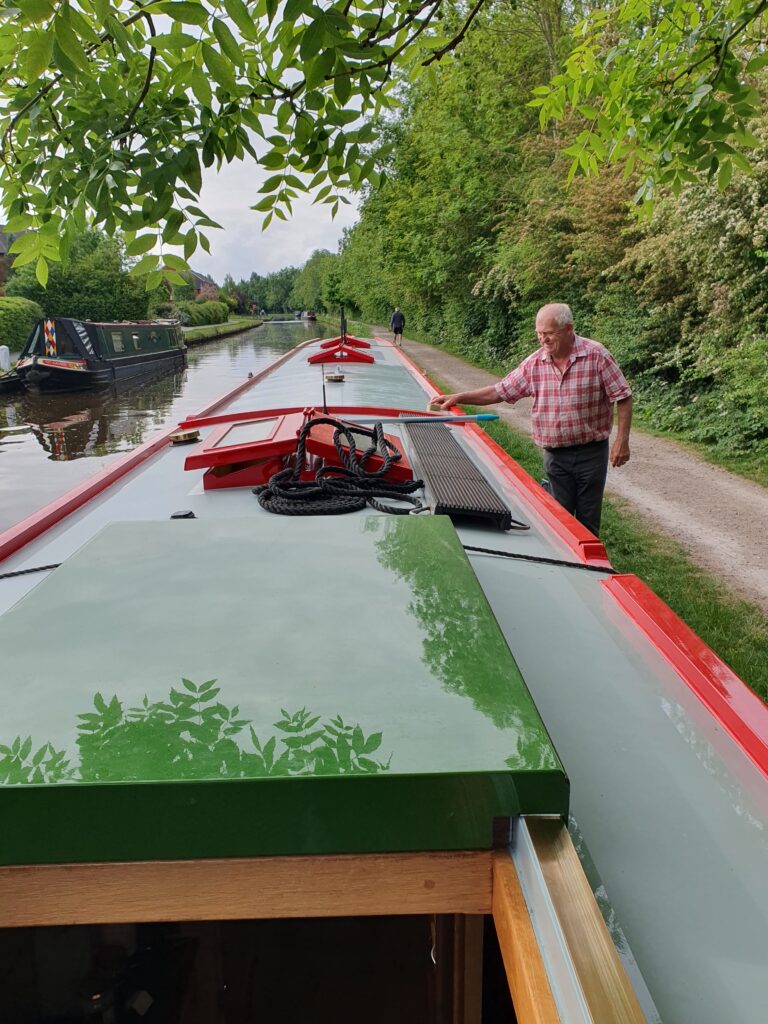
Panels were unwrapped on the bed for final inspection before fitting
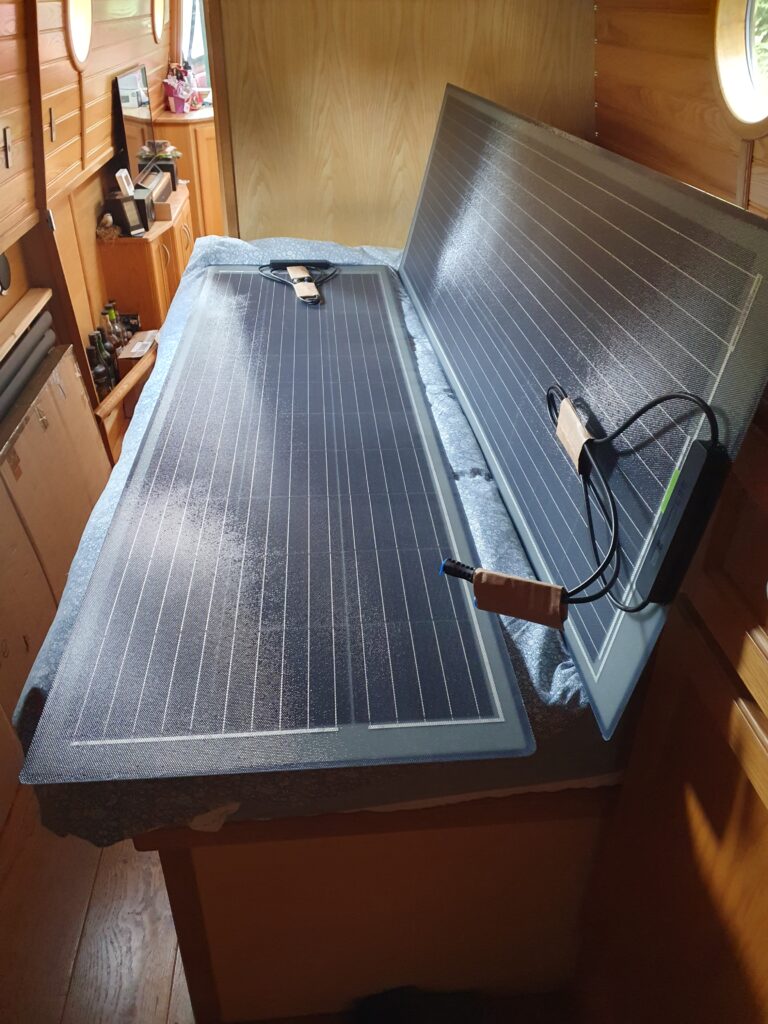
Frog tape was applied to the roof carefully marking out the exact position the panel was to go, and glue was applied to the back of the panel. Eric is using “Sticks like sh*t” this time because the last time he used CT1, his glue of choice, he felt it handled differently and had lost its grip. Rumour has it that there’s been change in the formula and in our opinion, it’s no longer so good.
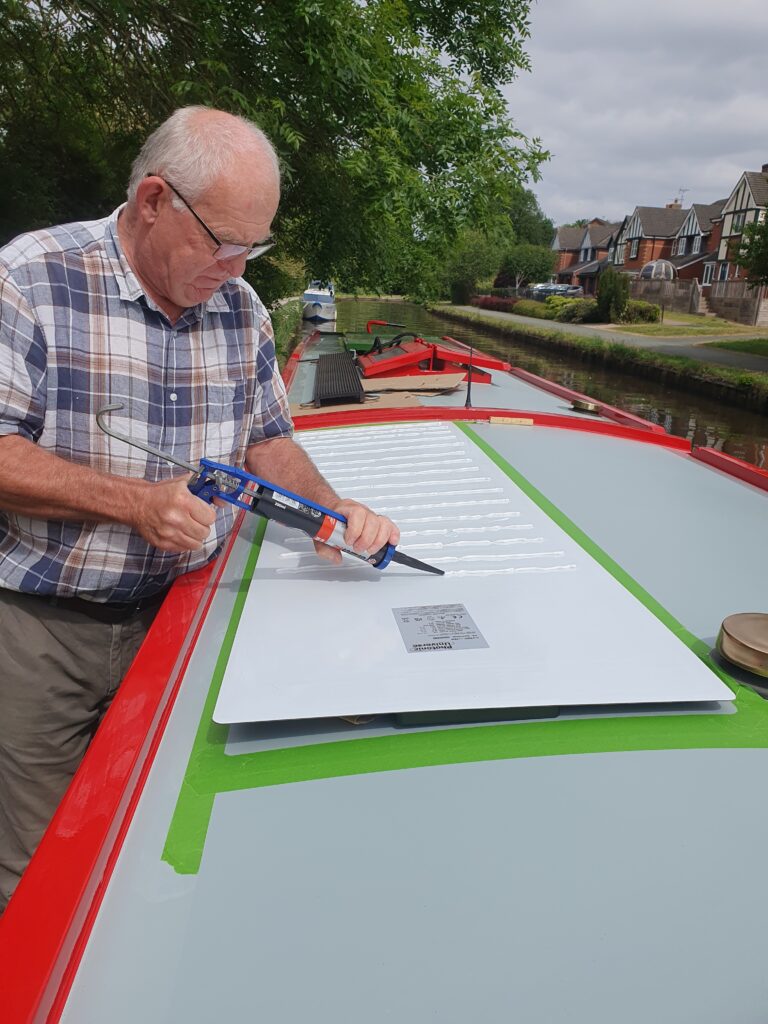
Working together and at speed, cause there’s only 15 minutes before the glue starts to cure, we flipped the panel into place and meticulously smoothed and weighted it down, ensuring the glue came right to the edge. There are two schools of thought, some installers like to leave a few mm gap between roof and panel. Eric thinks this will make the panels less stable to walk on, and potentially problems with rain/condensation getting underneath.  So we have opted for bonding the panel firmly to the roof without a gap. The frog tape was removed and the edges checked that no glue was visable on the roof.
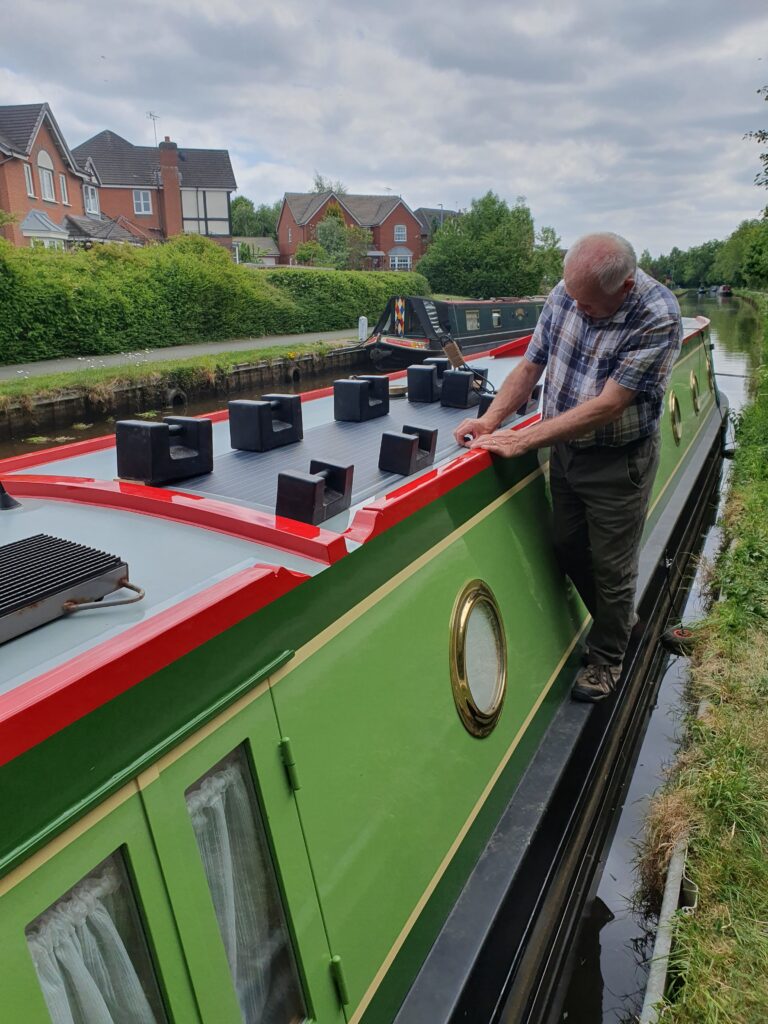
The weights we using are our moveable balast.  We have 140kg in 10 and 20kg weighs. They usually live under the well deck and very rarely need to be moved, but they do come in handy for jobs like this. Because we’ve only got this many weights we can only do one panel every 8 hours or so, to give it time to set.
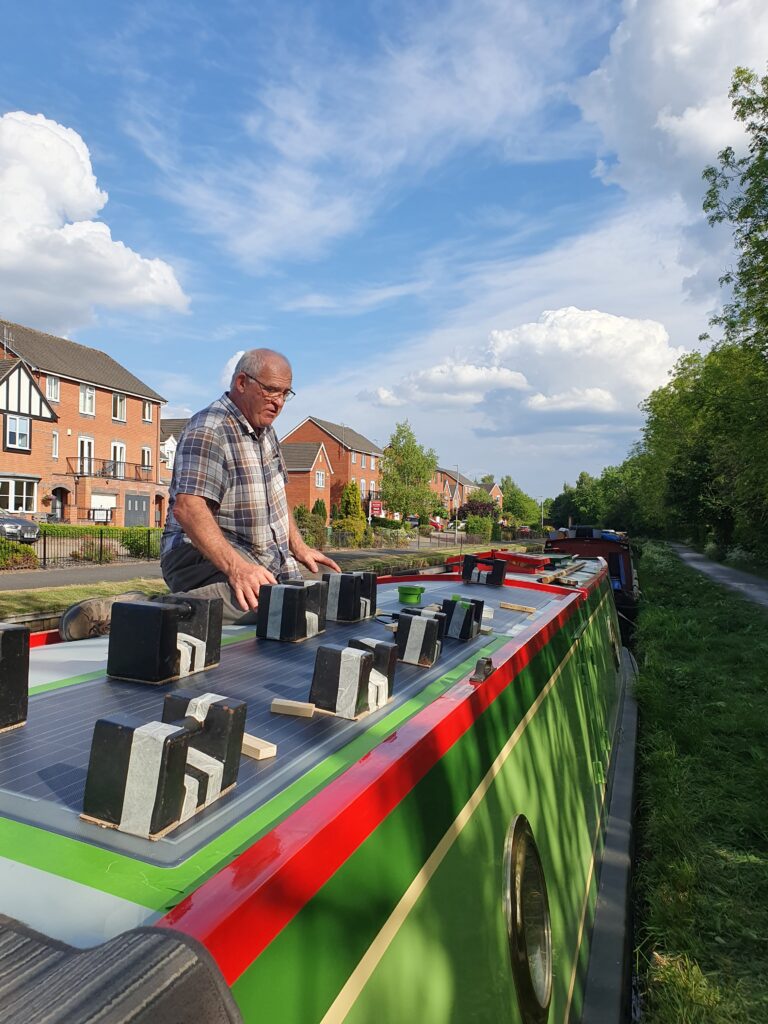
We certainly felt like we’d done a thorough workout after shifting all that weight. My job was to tape anti scratch protection to the weights (ie cardboard) which we realised we needed after the first oops. One of the nice things about the Whitebridge moorings is that there is a winding hole, which meant we were able to work on both sides with the safety of the bank. .
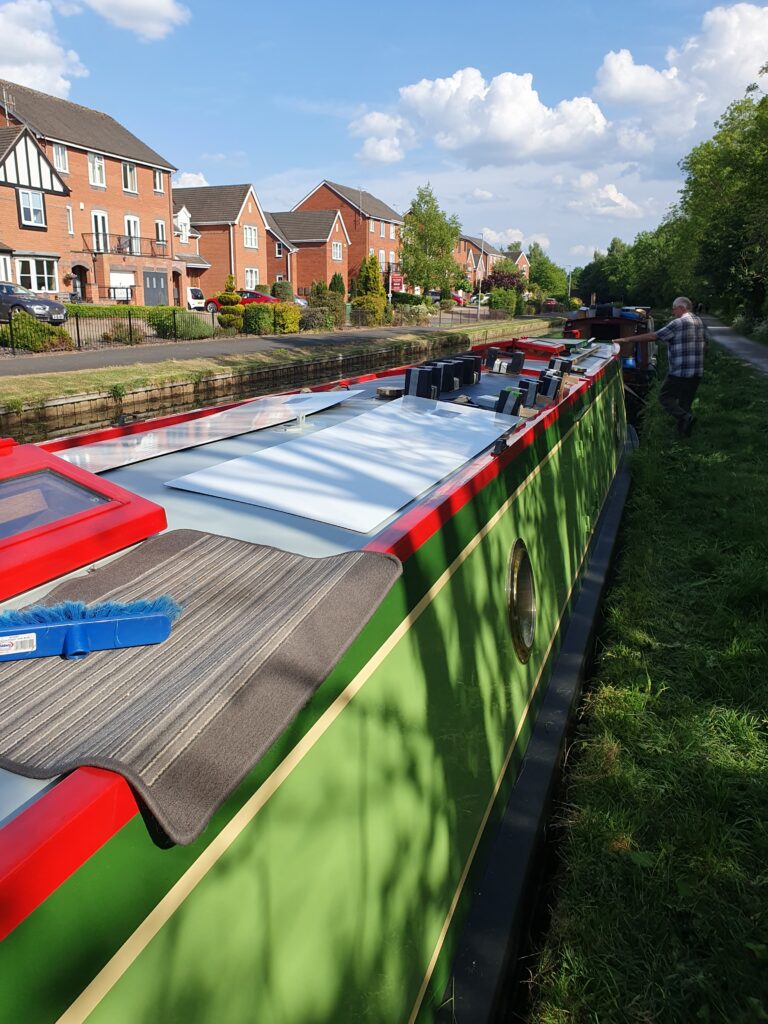
It took us 4 days to put all 4 panels on (rain stopped play inbetween 2 and 3) . Anxious, intense and tiring work. We had bought a 5th smaller panel, intending to put it cross ways between the dog box and the cross strut, but when we looked at the extra power we’d gain and the aesthetics, we both felt we could live without it.
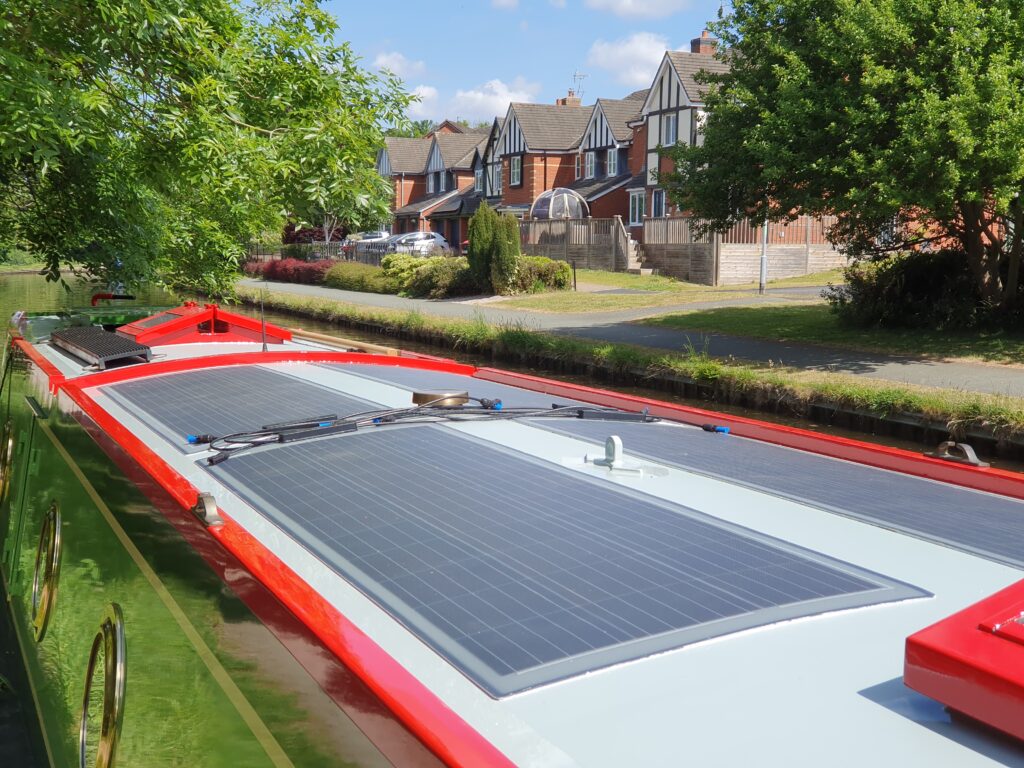
Of course having the panels stuck into place is only half the job. Eric will have to wire them in before we can take advantage off them.

The new panels 170w each, and will be wired in pairs
The 2 older panels at the front are 350w each
Giving us a total of 1380w.
In the summer this means all our cruising power comes from solar, (Admittedly being liveaboards, we don’t cruise every day and we rarely cruise for more than 3 hours in any day), and we run the generator maybe once a month.
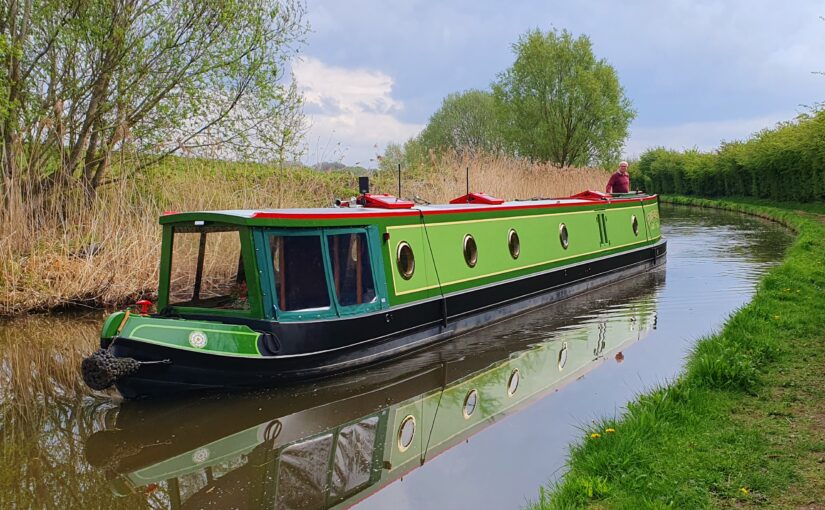

Before and After – Job Done

Can you see the big smile on my face ?

I have finished the plumbing, cruised to the water point and spent 3 hours filling up. Cosgrove is a very slow tap that does not have enough pressure to expand our expandable hose to even half the boat length. Still at this time of year there are not many boat’s wanting water so it wasn’t a problem.

Full tank of cold water, full tanks of hot water, washing done – no leaks – I am a happy man.

Yes I will admit, I also did some clothes washing – purely in the interest of testing the washing machine plumbing you understand. I have to maintain my male chauvinist image, it could not possibly be so that Cheryl didn’t come back to a full basket of dirty laundry. But I don’t want to set a precedent here ! ! !

Not only am I pleased that the plumbing is done and our boat is back to normal, but now that I have hot water – I shaved for the first time in a few days.

Before


After


Has it been worthwhile – YES, YES , YES

  • No more hot water from our cold water tap and drinking water tap.
  • No more cold water pipes being hot when they should be cold.
  • No more struggling to get to the drain points.
  • No more water left in the pipes once they’ve been drained.
  • No more wasted diesel heating cold water unnecessarily in the middle of the night.
  • No more sagging unsupported pipework.

Ok it’s a bit soon to know for sure if I’ve fixed all the problems but so far so good and no leaks seen.

All I have done is follow the manufacturers installation manuals and used good plumbing practice. I find it staggering that people, both builder’s and customers are prepared to accept “it’s the way we’ve always done it” when clearly if Firecrest is anything to go by, it could be so much better, easier safer, more economical and durable.

I enjoyed my cruise to and from the water point, in the sunshine, watching the ducks, swans and canada geese – that’s what boating is all about. Not struggling to make sense of plumbing. But best of all, Cheryl will be back home tomorrow and I can’t wait.

No Water

That’s no water on the boat not in the canals.  Not because we have run out of water, but because I am fixing the plumbing.

We have been planning to moor in Wolverton (north Milton Keynes) for some months now so I could be close to DIY shops.  Well by close I mean a 3 mile round trip to Screwfix, 5 miles round trip to B&Q.  Still parts bought by click and collect, Cheryl’s gone home to leave me to it, and now I have started.  Its mothering Sunday so a good time for Cheryl to spend a few days with her mum, and allow me to spread bits all over the boat.

So why am I fixing the plumbing on a new boat?

We have often noticed the water coming out of our cold water tap is warm, sometimes hot enough to wash your hands under the tap.  What is worse the warm water also comes out of our drinking water tap.  I did ask my boat builder about this but was told my boat was plumbed how they always do it – so that’s it – not their fault.

After researching the issues, reading manufactures fitting instructions, thinking about it and examining the plumbing, the issue is there is no non-return valve between the hot water and cold water systems, as is recommended by the manufactures of many of the parts fitted, and other experienced boating people.  To make that problem worse, the pressurised expansion tank is on the hot side of the clarifier (hot water cylinder) so that pushes hot water into the cold water pipes.

While investigating I also found a cold water pipe that was as hot as a central heating pipe 24hrs a day.  It turns out that hot water from the top of the clarifier is self circulating though this pipe resulting in the heat lost cooling the tank.  This explains why I have noticed the boiler turning on in the middle of the night to heat hot water which it should almost never do.  This is easy to avoid with proper plumbing but now requires me to change even more of the system.

The third problem that needs fixing I did not discover until I tried to drain the system.  After 2 hrs of trying to get a tool to the drain point which was sandwiched between the 22mm heating pipes and the clarifier, I ended up having to undo another joint to drain the system.  This is particularly bizarre because if you leave a boat unoccupied in the winter it needs to be winterised, which involves completely draining all the water pipes and water tanks to ensure there is not damage from freezing, and subsequent flooding.

Hopefully I will have cold water back by tonight.  I have fitted an isolation valve between the cold water and hot water systems which will allow me to completely re-plumb the hot water side over the next few days, while still having cold water to use.